Setting Up a Webinar for Automatic Approval
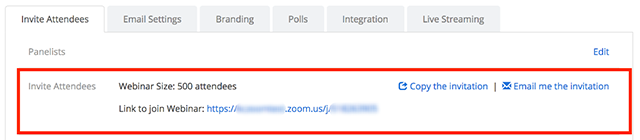
- With your webinar now scheduled. Scroll down to the bottom of the webinar details page to view the registration options under Invite Attendees.
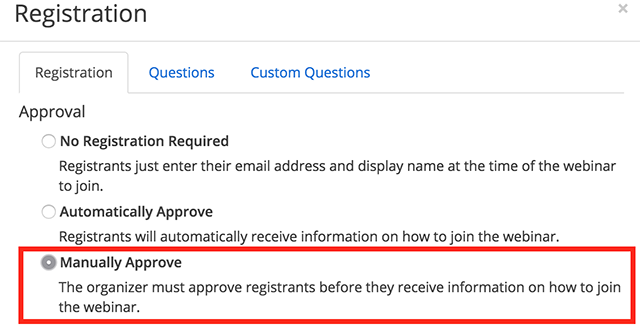
- Next to Approval, it will list Automatically Approve or Manually Approve. If it lists Manually Approve, click Edit on the right side.
- Select Automatically Approve.

- Click Save All.
- You can copy the registration URL or the invitation to share with your attendees.
Setting up a Webinar for Manual Approval
- With your webinar now scheduled. Scroll down to the bottom of the webinar details page to view the registration options under Invite Attendees.
- Next to Approval, it will list Automatically Approve or Manually Approve. If it lists Manually Approve, click Edit on the right side.
- Select Manually Approve.
- Click Save All.
- You can copy the registration URL or the invitation to share with your attendees.
- After an attendee has registered, return to your Webinars page.
- Click on the name of the webinar to view the details.
- Select Edit to the right of Manage Attendees.
- Select the user(s) to approve or deny. You can select multiple registrants to approve or deny at the same time. If approved, they will receive an email with information on how to join the Webinar.